Setting up your smart trainer is easier than it looks. Follow these instructions and you’ll be Zwifting in no time.
- Pick your spot. Make sure there’s enough room for your bike and the device you’re running Zwift on. Also, make sure you have
access to power for the trainer. A strong WiFi signal is critical. - You want to be certain that your trainer is compatible and set up properly for your bike. If your rear wheel is an 11-speed thru
axle, make sure your trainer is also set up for 11-speed thru-axle. - Unfold the trainer. Extend the legs of the trainer and adjust the feet for stability.
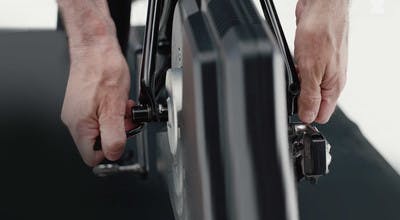
- If your trainer included a quick-release skewer, use it.
- Plug in the trainer. The electrical port is underneath the trainer.
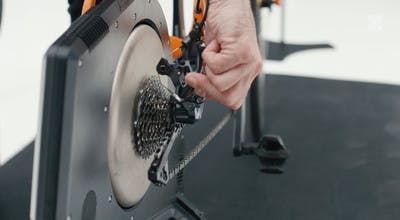
- Grab your bike and shift into the smallest cog on the cassette.
- If you have rim brakes, open your rear brake. The caliper will open.
If you have disc brakes, be sure to insert a brake pad spacer into the gap between the pads. This will prevent the pads from
staying closed if you pull the brake lever. If you don’t have a spacer, remember not to pull the rear brake lever. This will prevent
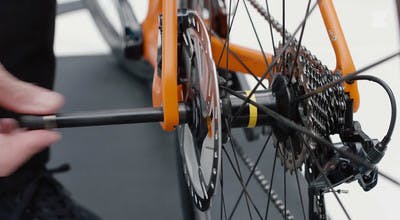
you from having to pry the pads apart to restore the gap when you want to put your rear wheel back on. - Open the quick release.
- The derailleur is spring-loaded and can be rotated clockwise to allow the wheel to “drop out.” Avoid touching the chain to keep
your hands clean. - Pull the bike up and away. You can add slack to the chain to clear the cassette by pushing the cage down with your finger.
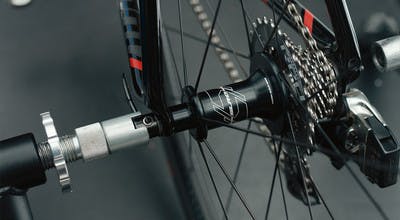
- Take the rear wheel out and set it aside. You won’t need it to Zwift.
- Store the wheel in a safe place.
- Lower the bike frame over the skewer. Again, add slack to get the chain around the cassette.
- Move the derailleur clockwise and out of the way as necessary as you lower the dropouts onto the trainer. Make sure your bike is
straight to align the frame onto the trainer. - Gravity should help the bike fall into place. The bike should be relatively stable, even before you tighten the quick release.
- Add weight to the saddle to seat the frame securely.
- Screw in the skewer and give yourself just enough space so that when you push in and tighten the lever, it’s nice and snug
enough to leave a mark on your hand. - Rock the bike back and forth to make sure it’s stable.
- You’re ready to Zwift!